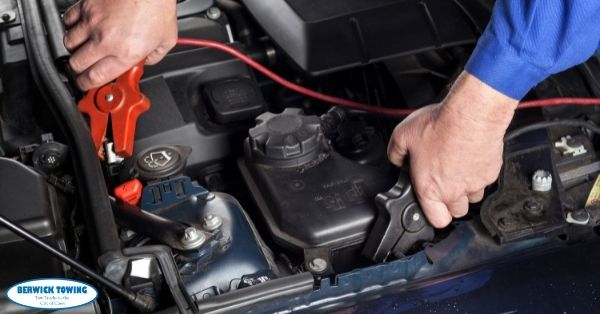
As a vehicle owner, you are going to need to jump start your vehicle at some point. You will need to use someone else’s car to get your vehicle up and running. Many car owners find the prospect of jump starting their vehicle intimidating. However, the process is quite straightforward, you just need to proceed with caution as it can be dangerous.
Following is the 8-step process of safely jump starting your vehicle:
1. Determine the Location of Your Battery
Check the battery of your vehicle by popping the hood. Consult your vehicle’s owner manual if you are not sure where it is. Also determine where the battery of the vehicle providing the jump is located.
2. Position the Car Providing the Jump Correctly
Correctly positioning the car that is providing the jump is very important as it will ensure that your jumper cables reach easily. It is recommended that you park the vehicle close enough where the jumper cables can comfortably reach both vehicles’ batteries. Secure the hoods of both of the vehicles so they will not close. It is also recommended that you make sure that the vehicle providing the jump is shut off.
3. Call a Towing Service if There Are Leaks or Other Visible Damage
Before you connect jumper cables, make sure that there are no leaks or other visible damage to the battery. Hydrogen gas can be released which can become very dangerous because its flammable. If there is a leak or other visible damage, then it is recommended that you call a towing service to tow your vehicle to an auto shop. If the issue is minor, then the towing company will jump start your vehicle on site. Proceed to the next step if there are no leaks or other visible damage to the battery.
4. Connect the Cables to the Battery of the Vehicle Providing the Jump
Connect the red clamp of the jumper cable to the red post on the battery of the car providing the jump first. After that, connect the black clamp to the battery’s black post. While you are connecting the clamps, make sure that they do not come in contact with each other.
5. Connect the Cables to Your Vehicle’s Battery
Now making sure that the remaining clamps do not touch each other, connect both red and black clamps to their respective posts on the battery of your vehicle. You can also connect the black clamp to your vehicle’s engine instead of the battery post. In fact, it is a better option as it can reduce the likelihood of a spark being produced around the battery.
6. Start the Engine of the Vehicle Providing the Jump
Start it and run the vehicle providing the jump for 5 to 10 minutes in order to allow your dead battery to get charged. Shut off the engine afterwards.
7. Start Your Vehicle
Now simply turn your key in your ignition and see if your vehicle starts. If it does, then proceed to the next step.
8. Clamp Removal
Remove the black clamp from the vehicle providing the jump and then remove the red clamp. Now remove both clamps in the same order from your vehicle.
It is important that you take your vehicle to your auto repair technician afterwards to determine whether you need to replace the battery, battery contacts, or cables.
Affordable Towing Services Company in Melbourne South Eastern Suburbs.
Berwick Towing & Transport located near the Beaconsfield Please check below map.
Berwick Towing & Transport
27B William Rd
Berwick VIC 3806
https://berwick-towing.com.au/
* Find us on Google Map

